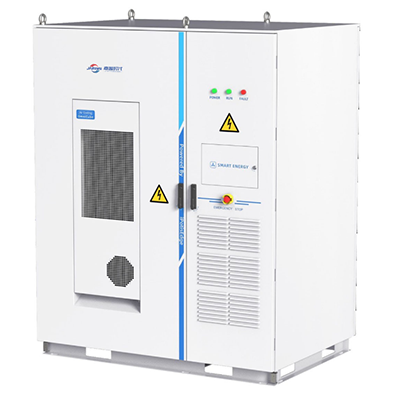
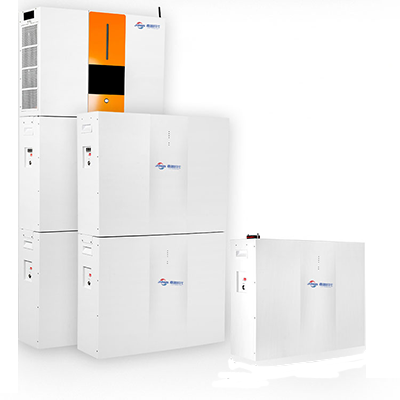
Our custom lithium battery OEM/ODM solutions are tailored to your unique specs—offering full flexibility in cell chemistry, capacity, form factor, BMS settings, and compliance with UL, IEC, and UN38.3 standards. Our expert team delivers rapid prototyping, strict quality control, and scalable production (from small batches to mass orders) with transparent communication and on-time delivery. Get a free, no-obligation quote today to turn your lithium battery concepts into reliable, market-ready products.
Blends active materials, binders, and solvents into a uniform slurry to ensure consistent electrochemical performance.
2 :Coating
Spreads the slurry onto metal foils (anode/cathode) with precise thickness control for optimal energy density.
3 :Drying
Removes solvents from coated electrodes to stabilize material adhesion and prevent cracking.
4 :Coating & Winding
Combines anode/cathode layers with separators and winds them into a compact jellyroll structure.
8 :Welding
Joins electrode tabs using laser welding to minimize resistance and ensure current stability.
7 :Stacking
Aligns anode/separator/cathode layers in a Z-fold pattern to maximize space efficiency.
6 :Making Film
Trims electrodes into precise dimensions to fit battery cell specifications.
5 :Pressuring Film
Compresses electrodes to enhance density and conductivity while maintaining porosity for ion flow.
9 :Encapsulation
Seals cells in aluminum-plastic film to protect against moisture, dust, and mechanical stress.
10 :Baking
Removes residual moisture from cells under vacuum to prevent electrolyte degradation
11 :Injection
Fills electrolyte into cells to enable ion transport between electrodes.
12 :Charging
Activates cells with initial charging to form a stable solid-electrolyte interface (SEI).
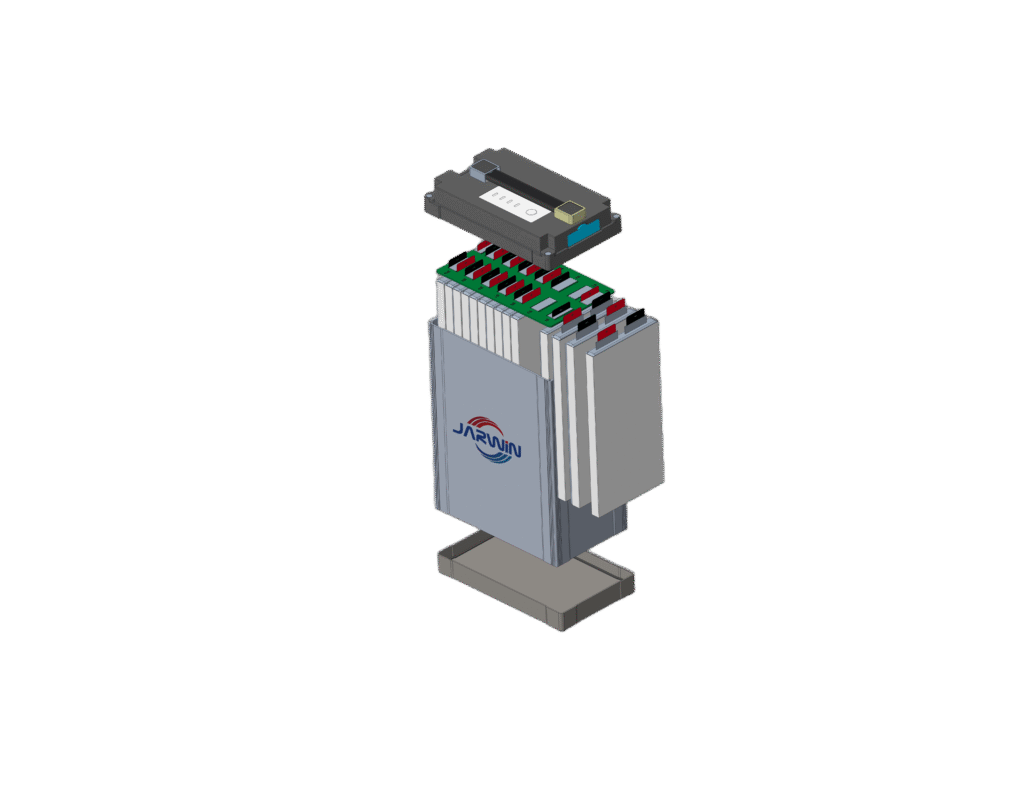
16 :Assembling
Integrates cells into modules or packs with BMS, wiring, and thermal management systems.
15 :Testing
Validates capacity, impedance, and safety (e.g., overcharge, short-circuit) under strict protocols.
14 :Charging and Discharging
Cycles cells to stabilize performance and screen out defects before final assembly.
13 :Extracting Air
Evacuates gas from cells to eliminate air pockets and ensure full electrolyte penetration.
Edit Content
1:Unpacking
Open packaging and sort materials.
2:Cell Visual Inspection
Full inspection of grouped cells for defects: leakage, scratches, dents, punctures, swelling, improper foam alignment (exposed tabs or missing bottom foam).
3:Voltage/Resistance Testing
Measure cell voltage and internal resistance; screen and rebalance cells with excessive deviations.
4:Tab Cutting
Trim electrode tabs to specification using a tab-cutting machine.
8:Insert Insulation
Place kraft paper for insulation and cover with high-temperature adhesive tape.
7:Wire Soldering
Solder wires using an electric iron
6:Tab Trimming
Trim tabs flush with weld points and press flat onto foam padding.
5:Tin Application
Place kraft paper for insulation and cover with high-temperature adhesive tape.
Step9:Casing Assembly
Install battery module into casing per assembly specs and connect wiring.
10:Charge/Discharge Test
Connect module to charger, switch to standard voltage mode, activate slow charge, and initiate charging.
11:Sealing
Apply sealant to screw holes, install groove-down silicone plugs, and reinforce sealing at designated points.
12:Final Functional Test
Verify communication, output voltage, temperature sensing, discharge curves, and leakage.
15:Shipping
Box approved units and dispatch.
14:Packaging
Label units, place in foam-lined boxes, seal in PE bags with desiccant, and secure with top foam padding.
13:Final Visual Check
Inspect for scratches, adhesive residue, stripped screws, and ensure labels are legible/undamaged.
Edit Content
1:Unboxing
Unpack materials and sort components.
2:Visual Inspection
Full inspection of grouped cells for defects: leakage, scratches, dents, punctures, swelling, etc.
3:Automated Module Assembly & Testing
Load into automated equipment; add foam, test, trim, install adapter boards, and align components.
4:Apply Foam Padding
Attach foam between every two cells for protection.
8:Install Fiberboard
Wrap module with fiberboard and seal edges with fiber tape.
7:Check Weld Integrity
Insert a pry tool sideways at weld points to detect weak bonds; rework if needed.
6:Laser Welding
Weld tabs using a laser welder; clean residual slag post-welding.
5:Bend Cell Tabs
Fold electrode tabs and flatten with a rubber mallet.
9:Solder Wires
Secure wiring using a soldering iron.
10:Mount Aluminum Casing
Lay module flat, slowly slide casing over it, and fully insert into the casing.
11:Initial Testing
Verify cell voltage, temperature, and voltage differentials meet standards.
12:Aging Test
Cycle batteries to stabilize performance and screen for defects.
16:Final QA Test
Repeat functional tests to confirm compliance.
15:Final Visual Check
Inspect for scratches, adhesive residue, stripped screws, and ensure labels are intact/legible.
14:Seal Housing
Secure cover with screws and apply sealant evenly for waterproofing.
13:Functional Testing
Check communication, voltage, temperature sensing, discharge curves, and leakage.
17:Packaging
Wrap finished units in PE stretch film and secure pallets with strapping.
18:Shipping
Quality-approved units are boxed and dispatched.
Edit Content
1:Unpack Materials
Open packaging, sort components.
2:Full Visual Inspection
Inspect grouped cells for defects: leakage, scratches, dents, punctures, swelling.
3:Voltage/Resistance Screening
Test cell voltage and internal resistance; rebalance cells with excessive voltage deviations.
4:Tab Punching
Punch holes in cell tabs using a stamping machine.
8:Fiberboard Installation
Wrap battery module with fiberboard and seal edges with fiber tape.
7:Screw Fastening
Secure aluminum plates to adapter boards with screws; verify torque.
6:Tab Alignment
Fold tabs in half with a rubber mallet and align holes with PCB board positions.
5:Adapter Board Assembly
Mount cells onto adapter boards per specs, secure tightly with fiber tape.
9:Casing Integration
Tilt module into lower casing, secure series wiring by loosening screws incrementally, apply silicone adhesive, fix top fiberboard, then fully insert into casing.
10:Wiring Connection
Plug sensing wire terminals into sockets and secure with adhesive.
11:Performance Testing
Use a voltage tester to measure the maximum and minimum cell voltage difference of the battery pack (≤15 mV), followed by open-circuit voltage, AC impedance, and charge/discharge (including overcurrent) tests.
12:Aging Cycle
Stabilize performance through cycling and screen for defects pre-final assembly.
16:Packaging&Shipping
Secure aluminum plates to adapter boards with screws; verify torque.
15:Final Visual QA
Secure aluminum plates to adapter boards with screws; verify torque.
14:Comprehensive Functional Testing
Fold tabs in half with a rubber mallet and align holes with PCB board positions.
13:Cover Installation
Mount cells onto adapter boards per specs, secure tightly with fiber tape.
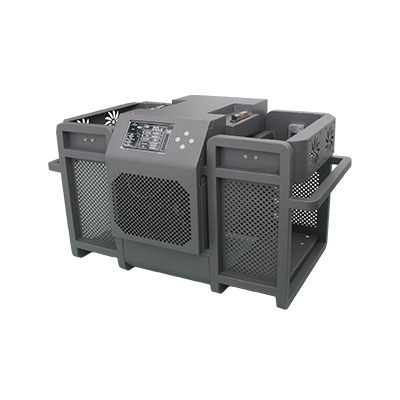
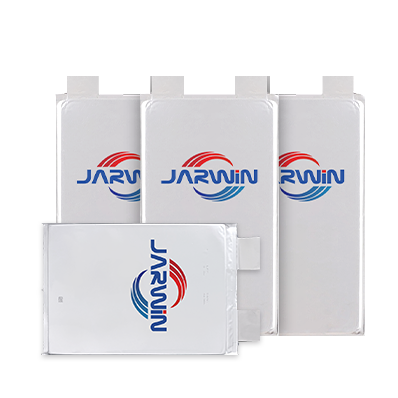 High-rate Battery Cell